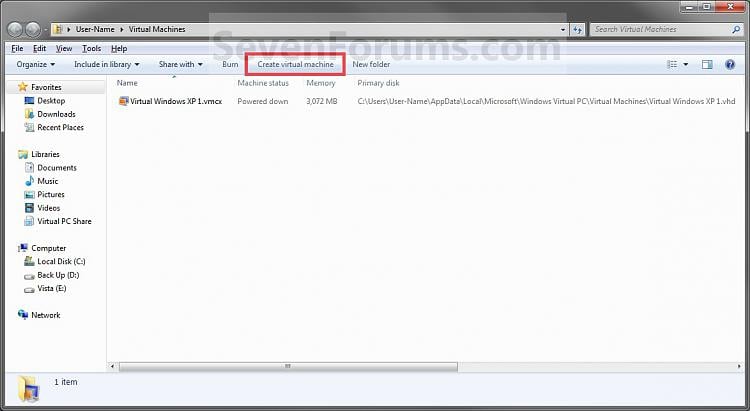
แต่เนื่องจากอยากลอง Virtual Machine ที่เป็น os อื่นบ้าง แต่มันไม่มีให้ Create Virtual Machine บน toolbar แล้วไปเจอบทความนี้ และสามารถใช้งานได้ดี (ผมนำเสนอในบางส่วนนะครับ)
Here's How:
1. ลงโปรแกรม Windows Virtual PC หาได้จากเวป Microsoft
2. พิมพ์ vpcwizard.exe ที่ช่อง search แล้วกด Enter.
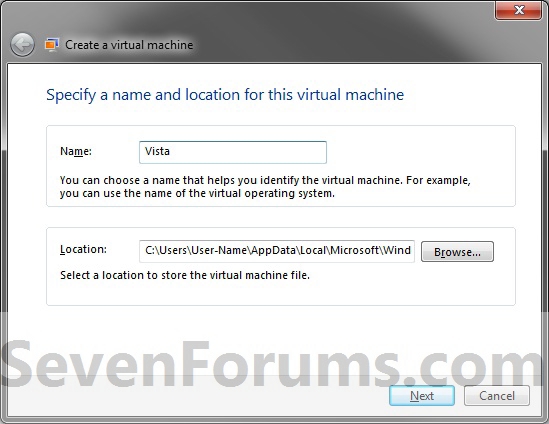
3. ใส่ชื่อของ Virtual Machine ที่เราจะสร้าง
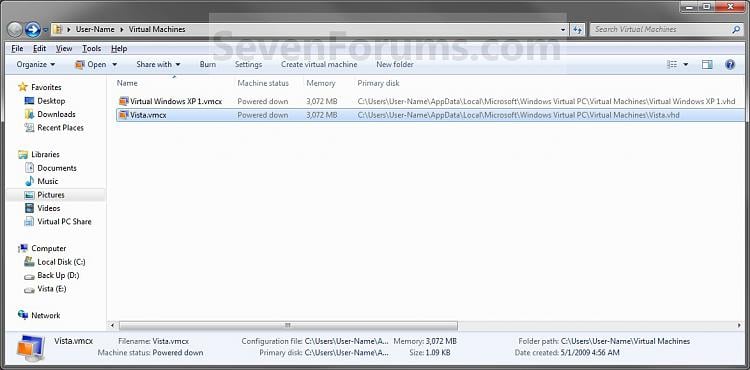
โดย default จะถูกเก็บที่ C:\Users\(user name)\AppData\Local\Microsoft\Windows Virtual PC\Virtual Machines หรือ C:\Users\(user name)\Virtual Machines .
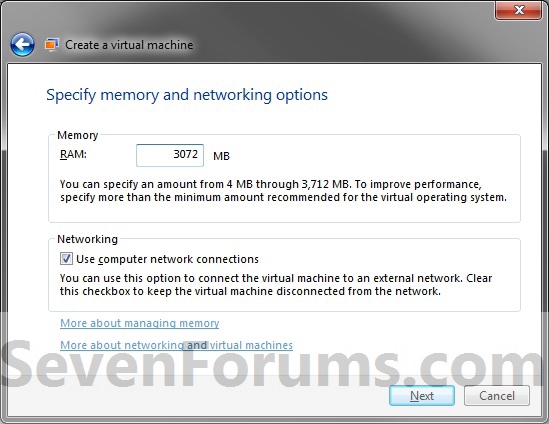
4. ใส่ RAM ที่ต้องการใช้กับ Virtual Machine (1 GB = 1024 MB) และ
Check กล่อง Use computer on network connections เพื่อใช้งาน Network
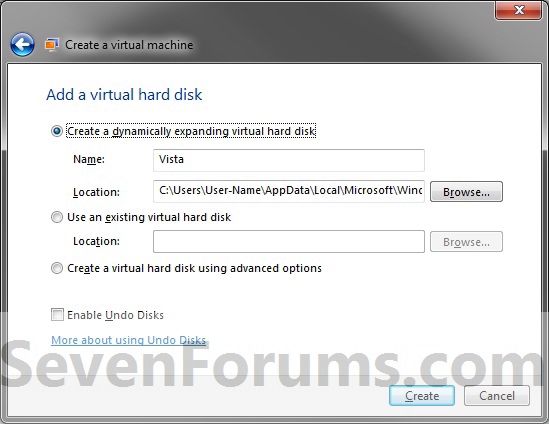
5.1 สร้าง HDD แบบ Dynamically Expanding VHD
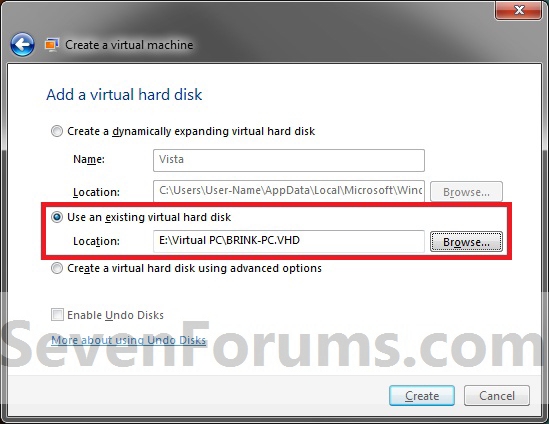
5.2 การเลือก HDD แบบ VHD File ที่เคยสร้างไว้แล้ว
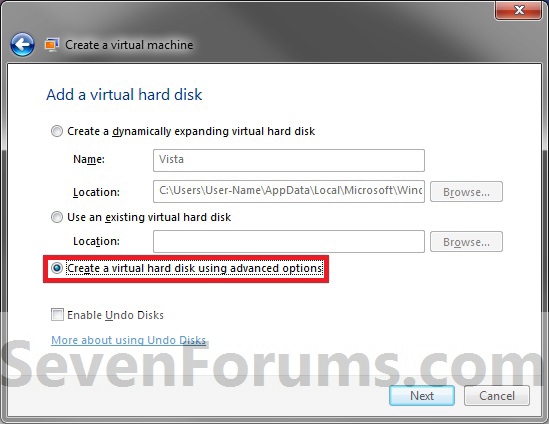
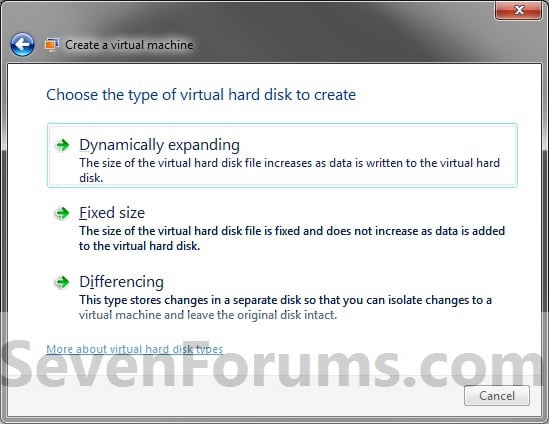
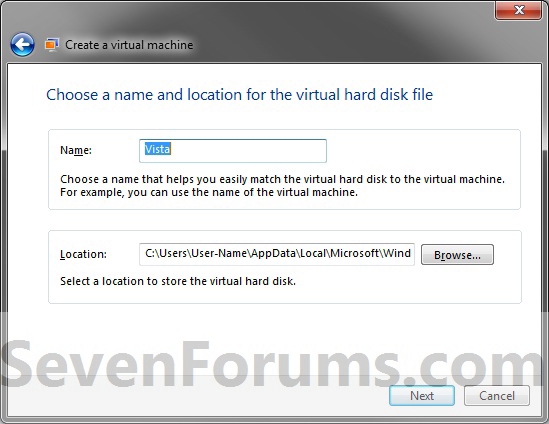
5.3 สร้าง HDD แบบ VHD with Advanced Options
6. Click ที่ All Programs, >> Windows Virtual PC , เลือก Virtual Machine ที่ต้องการ คลิกขวาแล้วเลือก OpenThat's it,
Shawn
WARNING: Windows Virtual PC only supports using a VHD up to 127 GB (130,048 MB) for a dynamic VHD, and up to 41 GB (42,023) for a fixed VHD. Any larger and you will not be able access the VM from within Windows Virtual PC.
ดัดแปลงบทความจาก
http://www.sevenforums.com/tutorials/8254-windows-virtual-pc-create-virtual-machine.html
0 comments:
Post a Comment